How to Install a GRMS in a Hotel: Step-by-Step

A GRMS installation runs in five phases: plan the bus and room device schedule, mount the switches and controllers, wire the sBUSPro network and its power, commission and program the system, then test and hand it over to staff. The order matters, because each phase depends on decisions made in the one before it. Skip the planning and you will be pulling cable twice.
A guest room management system ties a room's lighting, climate, curtains, door status, and access control into one coordinated controller. This guide assumes you already understand what a GRMS does, have chosen a platform, and now need to install hotel room automation correctly the first time.
The market pressure behind these projects is real. Grand View Research valued the smart hospitality market at USD 39.3 billion in 2025, projecting it to reach USD 197.3 billion by 2033, with hardware accounting for 58.8% of revenue (Grand View Research). Hardware is the part you install, so getting the physical work right is most of the job.
GRMS installation phase 1: Plan the bus layout and room device schedule
Before anyone touches a drill, two documents need to exist: a room device schedule and a bus layout drawing.
The room device schedule lists, for each room type, every controllable element and the device that controls it. A standard king room might carry a bedside panel, an entry panel, a thermostat, a curtain motor controller, a dry-contact input for the door sensor, and a room controller that ties them together. A suite carries more. Group rooms into types so you can repeat a known-good design rather than designing each room from scratch.
The bus layout shows how the sBUSPro cable runs from the floor distribution point to each room and how devices chain inside the room. Keep these points in mind:
- Plan the bus as a daisy chain, not a star. Each device connects to the next along a single trunk.
- Note the cable run length for each segment. Long runs and heavy device counts affect voltage at the far end.
- Mark where power supplies and repeaters sit so no segment is starved.
- Leave addressing room in your numbering scheme so room 412's devices are obvious in the software later.
A clean schedule also feeds your energy case. Controlling climate and lighting per room is what drives the biggest operating savings, and that logic only works if every device is accounted for on paper first.
Phase 2: Mount switches, thermostats, and the room controller
With the schedule approved, mounting is mechanical and repetitive, which is exactly what you want across hundreds of rooms.
Fix back boxes at consistent heights so the finished rooms look uniform and so maintenance staff always know where to look. Standard practice:
- Entry and bedside panels at switch height, aligned with other wall plates in the room.
- Thermostats at a height that reads the room air fairly, away from direct supply air and sunlight that would bias the sensor.
- The room controller in the service void above the door, in the wardrobe, or in the ceiling access panel, somewhere a technician can reach without disturbing the guest.
Dry-fit every faceplate before final fixing. On an sBUSPro system the wall devices are the guest-facing finish, so a crooked panel is the complaint the hotel manager notices first. Leave the controller accessible. You will return to it during commissioning and for the life of the building.
Phase 3: Wire sBUSPro devices and power the network
sBUSPro carries both communication and low-voltage power on the same daisy-chained bus, which keeps the wiring simple but makes discipline essential. One reversed pair or one broken shield can take a whole segment offline.
Core wiring rules for an sBUSPro install:
- Run the bus as one continuous chain. Enter and leave each device on the bus terminals, device to device, back to the distribution point.
- Keep polarity consistent. The same conductor serves the same function at every device. Decide your color convention on day one and never deviate.
- Maintain the shield. Ground the cable shield at a single point per segment to avoid ground loops, and do not nick it at terminations.
- Separate from mains. Route the low-voltage bus away from 230V power cabling to limit interference, crossing at right angles where they must meet.
- Size power for the load. Count the devices on each segment and confirm the power supply can carry them with margin. Add a supply or repeater where a long run would otherwise sag.
If you want to understand why the protocol behaves this way, our explainer on the sBUSPro protocol for hotel automation covers the signalling and topology in depth. For the physical install, the takeaways are: one chain, one polarity, protected shield, and power sized to the devices actually present.
Label both ends of every cable as you pull it. The thirty seconds you spend writing a room number on a cable tail saves hours during commissioning, when you are trying to tell which unaddressed device is which.
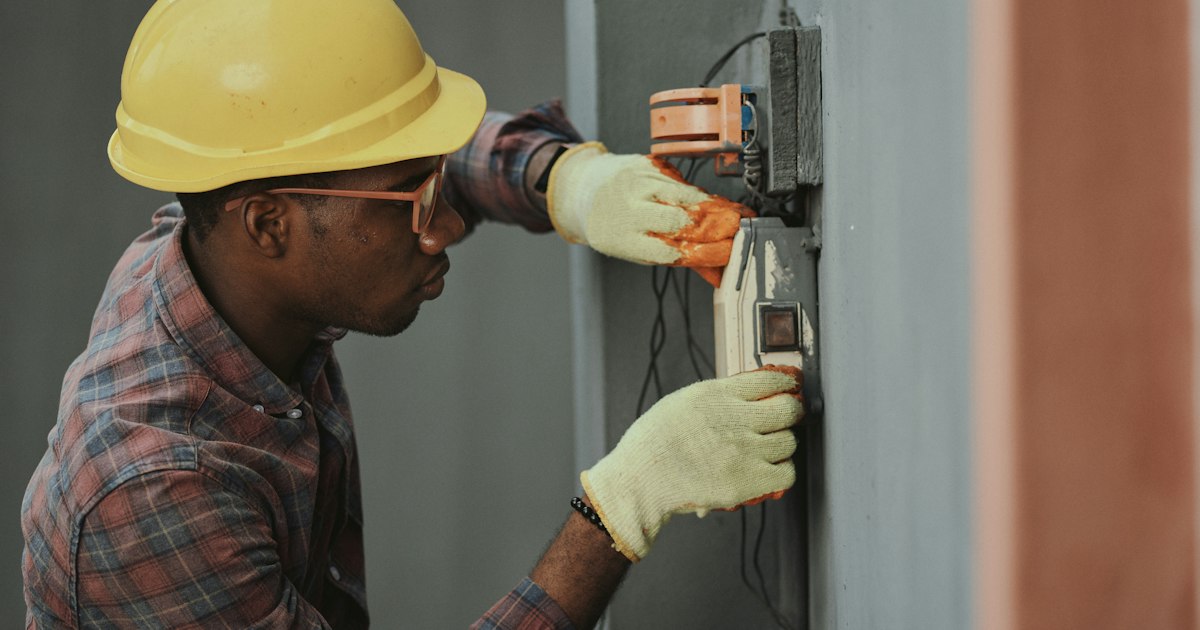
Phase 4: Commission, address, and program scenes
Commissioning turns a wired building into a working system. This is the phase where a GRMS installation is actually completed, and it needs a trained technician rather than a general electrician.
Work in a repeatable sequence:
- Power up one segment at a time. Confirm each supply is in range before energizing the next, so a wiring fault shows itself in one room rather than a whole floor.
- Address every device. Give each device a unique bus address and tie it to its physical room in the software. This is where your labeled cables and tidy numbering scheme pay off.
- Assign devices to rooms. Group the entry panel, bedside panel, thermostat, and controller under the correct room so the software treats them as one guest room.
- Program scenes per room type. Build the welcome scene, the sleep scene, the away or checkout scene, and the climate setpoints once per room type, then apply the template to every room of that type.
- Set the logic. Occupancy linked to the door and key card, curtain behavior, and the setback that lowers HVAC when the room is empty. Occupancy-based setback is the core energy mechanism, so program it carefully.
Program by room-type template rather than room by room. A 300-room hotel with four room types is four scene designs repeated, not 300 bespoke ones. The Smart G4 platform addresses and programs sBUSPro devices from a single tool, which is what makes templating across a large property practical.
Phase 5: Test, hand over, and train staff
A system that works on the technician's laptop still needs to prove itself in the room and in the hands of hotel staff. Test against a written checklist so nothing depends on memory.
Per-room test checklist:
- Every switch and panel button triggers its intended load.
- The thermostat reads a sane temperature and reaches setpoint.
- Door and key-card inputs drive the occupancy logic correctly.
- The welcome, sleep, and checkout scenes run end to end.
- Curtains and any motorized elements travel fully and stop cleanly.
- The empty-room HVAC setback engages after the room is vacated.
Handover and training checklist:
- A labeled as-built drawing of the bus and device addresses per floor.
- The commissioning file backed up and stored with the hotel's engineering team.
- A front-desk briefing on check-in and checkout behavior and how to override a room.
- An engineering briefing on fault finding, replacing a device, and re-addressing it.
- A named support contact for issues beyond the in-house team.
Independent guidance reinforces why the commissioning and controls work is worth the effort. Energy design guidance for lodging consistently points to advanced room controls as a major lever for cutting a hotel's energy use. Those savings are only realized if the system is tested and the staff know how to keep it running.
Your next step
Walk a single model room before you scale. Mount, wire, address, and commission one room of each type, then run the full test checklist on it and fix whatever breaks. Once one room of each type passes cleanly, you have a proven template to repeat across the property, and the rest of the GRMS installation becomes a matter of disciplined repetition rather than discovery. If you are still selecting a platform or installer for the Saudi market, our guide on choosing a GRMS supplier in Saudi Arabia is the right place to start.
Frequently asked questions
How long does a hotel GRMS installation take per room?
Rough wiring usually takes one to two days per room during the electrical phase, while final device mounting, addressing, and commissioning take a few hours per room once power and the bus are live.
Can a GRMS be retrofitted into an existing hotel?
Yes. Retrofits are common, though they take longer because cable routing must work around finished walls and ceilings. A site survey before quoting is essential.
What cabling does an sBUSPro GRMS need?
sBUSPro devices share a daisy-chained bus cable that carries both communication and low-voltage power, typically a shielded twisted-pair cable sized for the segment length and device load.
Do I need a specialist to commission a GRMS?
Commissioning should be done by a trained technician who can address devices, assign rooms, and program scenes. Smart G4 and its partners provide commissioning support for the sBUSPro platform.